Windows 2012 evolution has been installed onto VirtualBox in previous post. Now it is time to install SQL server 2014.
Subscribe to get access
Read more of this content when you subscribe today.
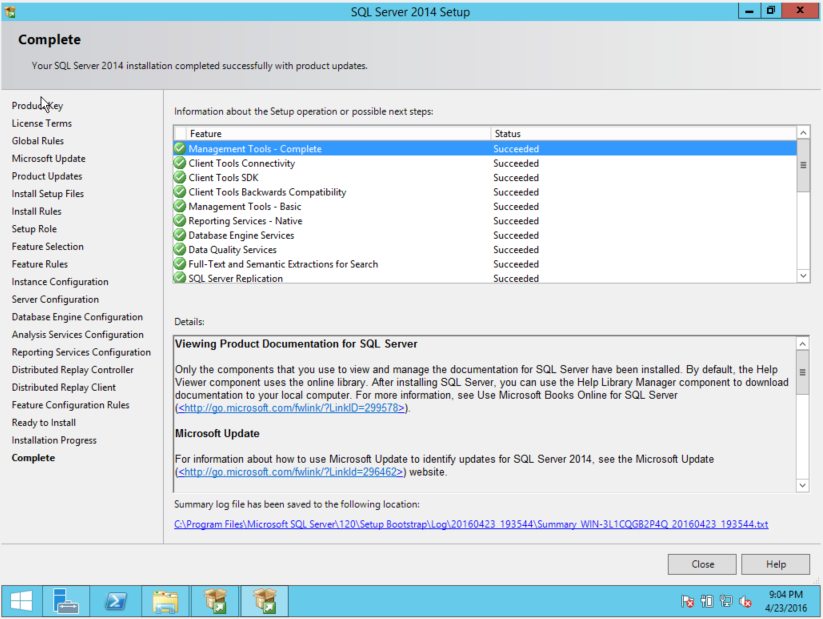
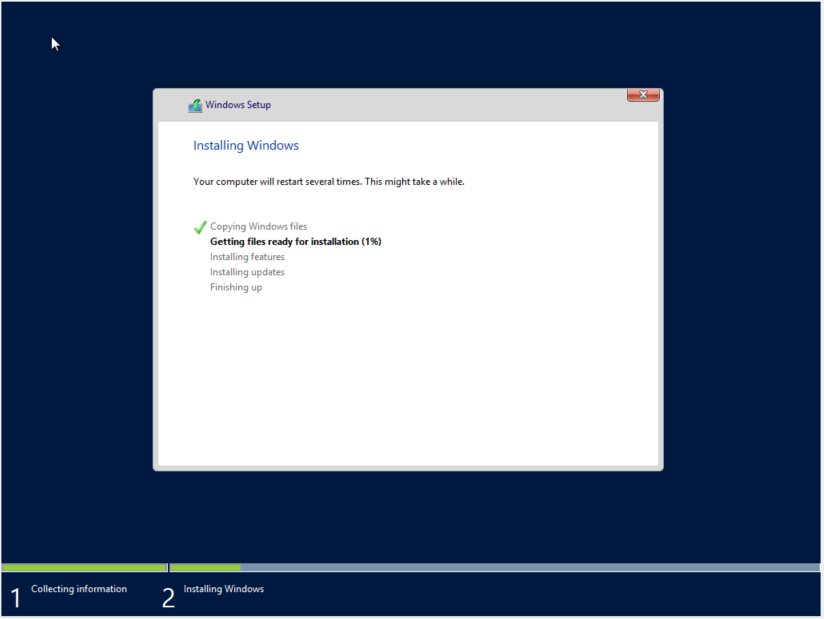
23. Installation is successful.

It is a great way to quickly build your own lab by using free Oracle VirtualBox, Windows evaluate Windows Server and SQL Server, etc.
Windows 2012 evolution has been installed onto VirtualBox in previous post. Now it is time to install SQL server 2014.
Read more of this content when you subscribe today.
23. Installation is successful.
Oracle VirtualBox can be used to create Linux, Windows , Solaris, BSD, IBM OS/2 and Mac OSx virtual machines, etc. URL for downloading VirtualBox https://www.virtualbox.org/wiki/Downloads
This post demonstrates how to install Windows Server 2012R2 evaluation version onto Oracle VirtualBox.

2. Start Oracle Virtual Manager, Select NEW.
Name: Windows Server 2012R2
Type: Microsoft Windows
Version: Windows 2012(64-bit)

3. Give 5120M memory size depending on availability.

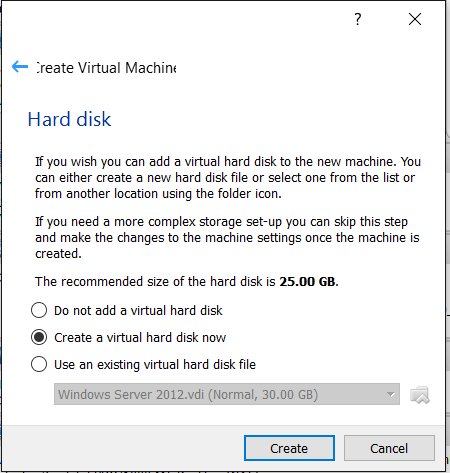
4. Create an virtual hard disk.
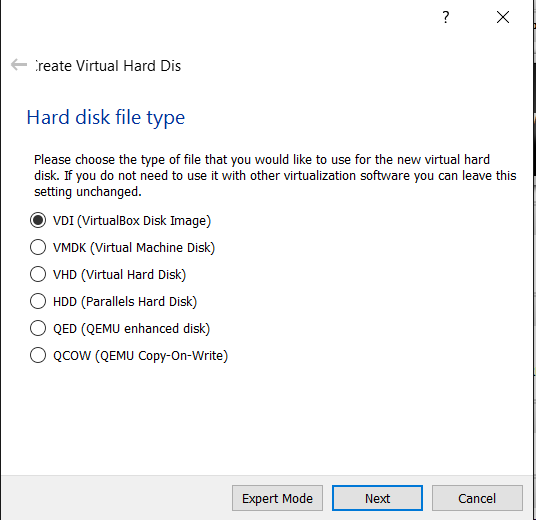
5. Choose “VDI( VirtualBox Disk Image)“.
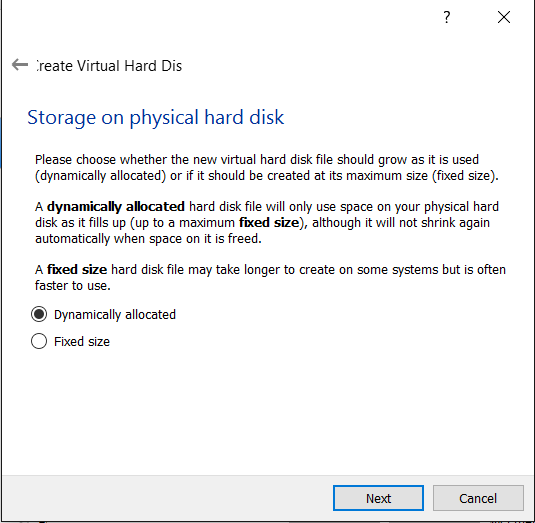
6. Choose “Dynamically allocated“.
7. Give size 30GB.
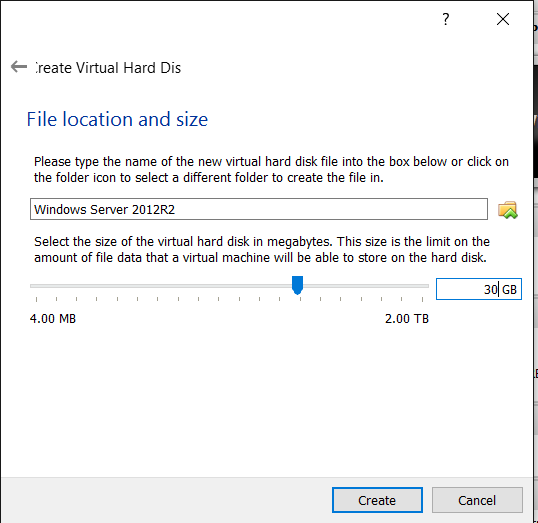
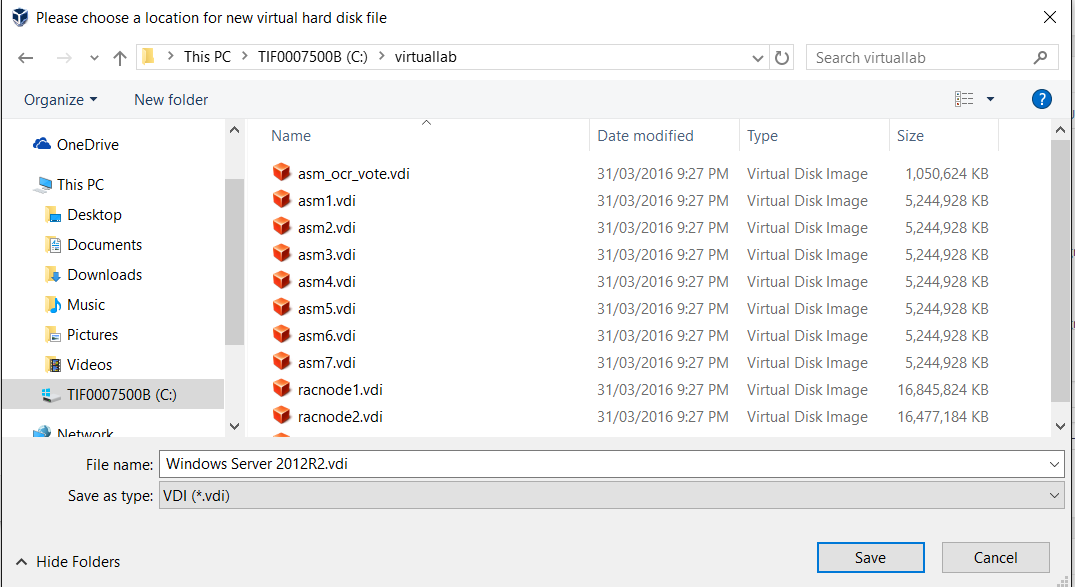
8. Also you can choose where the VDI image file located.
9. Click “create” to create “Windows Server 2012R2” virtual machine.

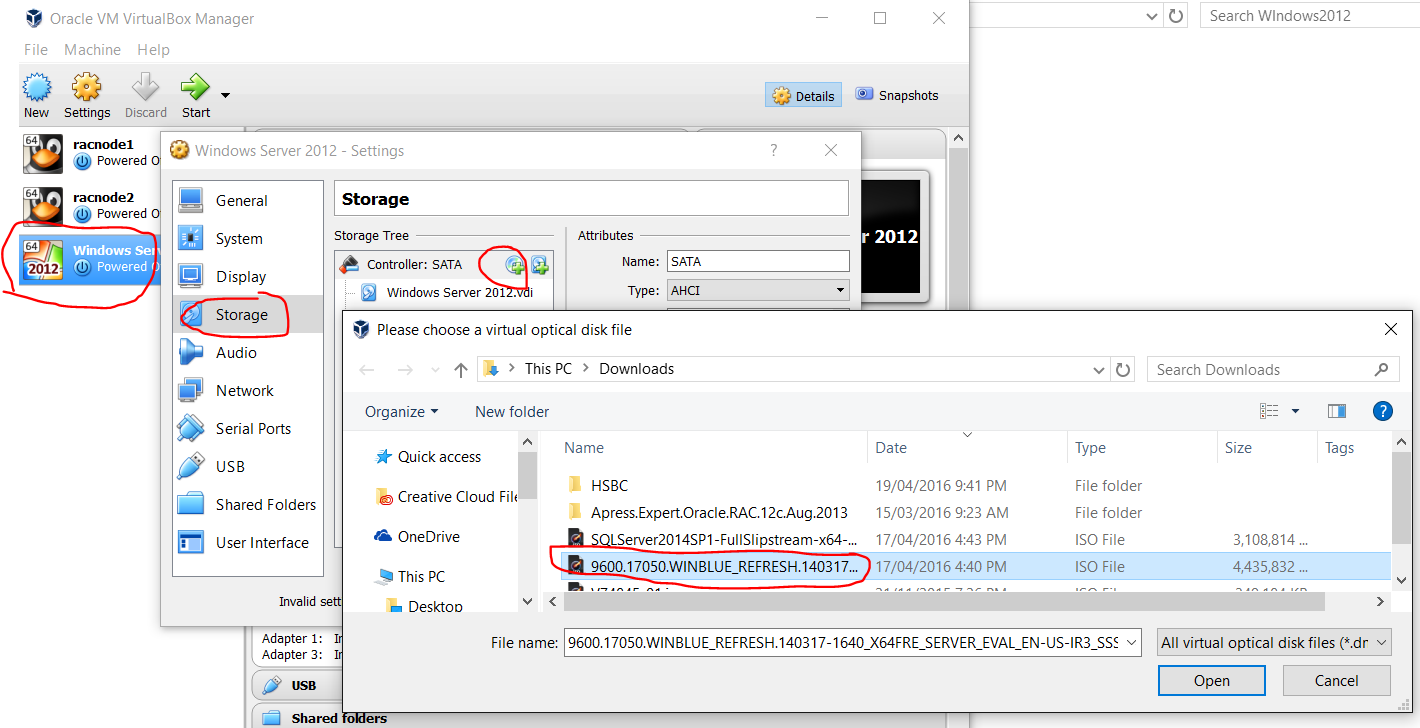
10. Now attach the ISO image to the virtual CD/DVD drive by :
a)Ensure the Windows Server 2012R2 VM is selected and click Settings.
b)Select Storage. Click on Empty under IDE Controller.
c)In the Attributes section, click on “+”sign for adding optimal disk.
d)Select “Choose a disk file”.
e)Browse to the location where you saved the Windows DVD ISO file and select it.
f)Click Open.
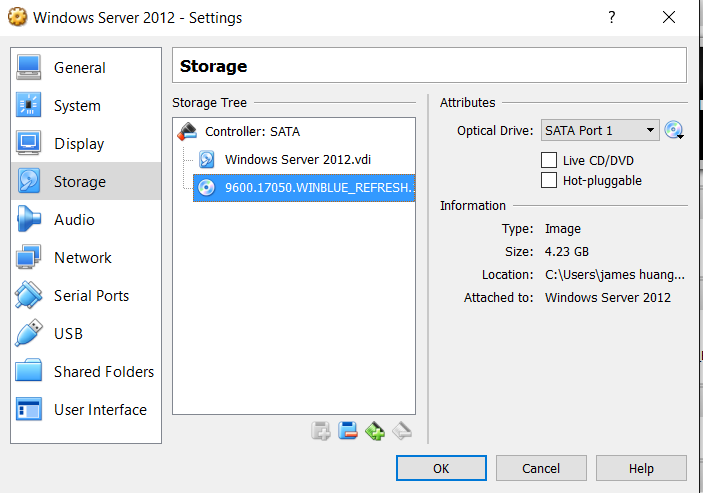
g)It should look similar to the following graphic.
11) Now we can install Windows 2012R2 .
a)Select the Windows Server 2012R2 VM in VirtualBox and click Start.
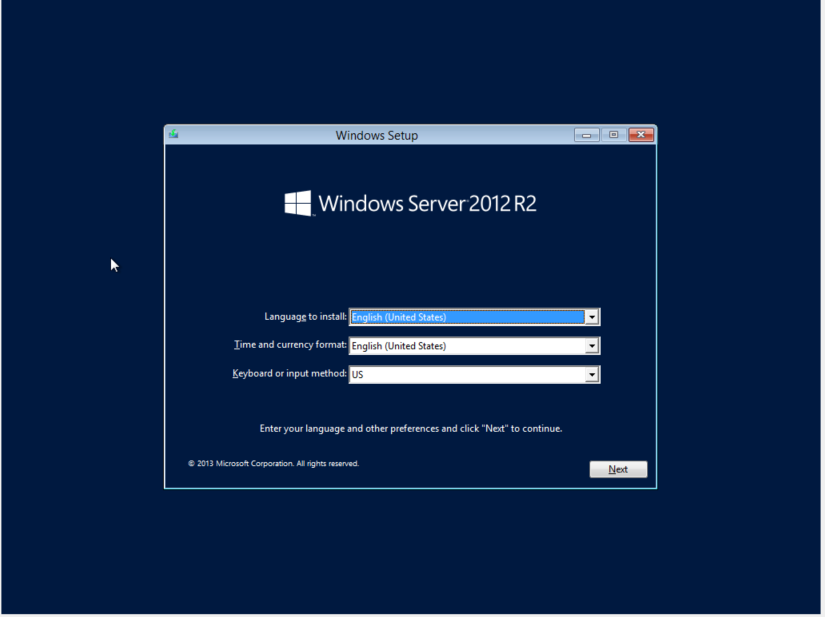
When the Install screen appears, click Next.
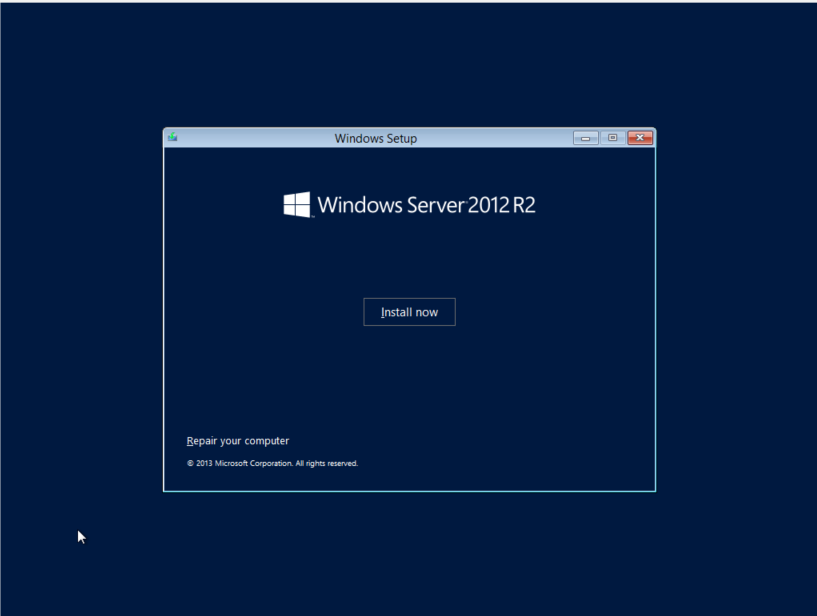
b)Click Install Now.
c)Select 2012 evalution Datacenter (Server with a GUI) and click Next. The Server Core installation includes a command prompt but not a graphical user interface (GUI).
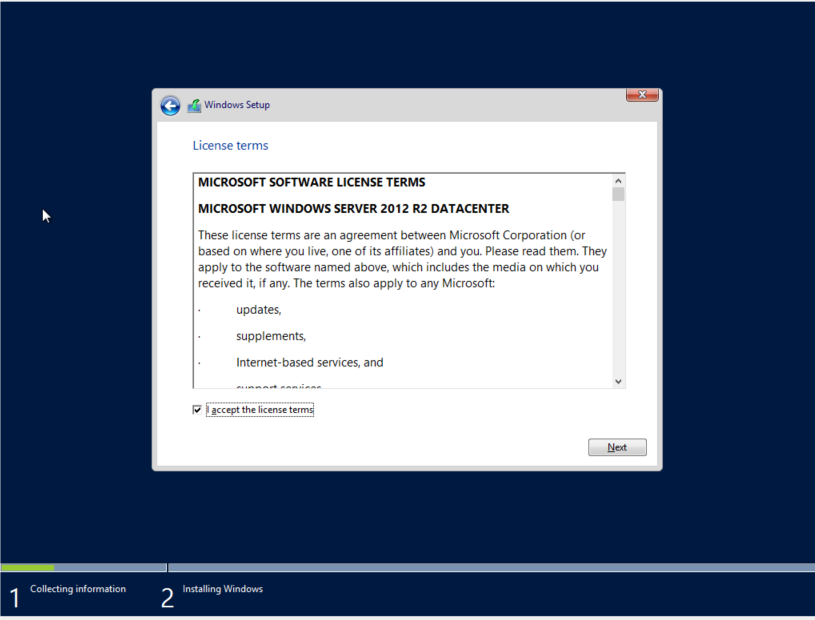
d)Review the license terms, select the checkbox to accept the license terms, and click Next.
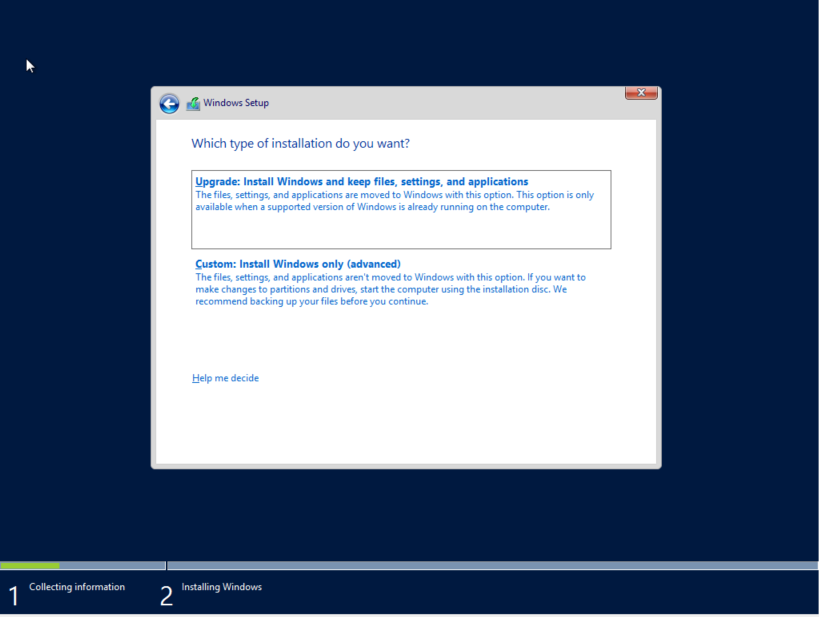
e) Select Custom: Install Windows only (advanced).
f) The 30 GB drive you created with the VM will be selected as Drive 0 Unallocated Space. Click Next.

g)The installation will begin .
h)When prompted, enter a password for the Administrator account in the Password and Retype password text boxes. Click Finish.


To log on Windows Server 2012R2, press the host key plus the Delete key to simulate the CTRL + ALT + DELETE key combination. The host key is the right-CTRL key by default.
It is a good practice to raise a service request for issues of DST upgrading in production environment.
There is a database upgraded from 11.2.0.4 to 12.1.0.2 by using “Complete Checklist for Upgrading to Oracle Database 12c Release 1 using DBUA (Doc ID 1516557.1)”. For some reason, the DST upgrading was not complete successfully after the upgrading checking:
Current DST state is still “Upgrade”.
SQL>SELECT PROPERTY_NAME, SUBSTR(property_value, 1, 30) value
    FROM DATABASE_PROPERTIES
    WHERE PROPERTY_NAME LIKE 'DST_%'
    ORDER BY PROPERTY_NAME;

PROPERTY_NAME			    VALUE
----------------------------------- ------------------------------
DST_PRIMARY_TT_VERSION		    18
DST_SECONDARY_TT_VERSION	    14
DST_UPGRADE_STATE		    UPGRADE
Try to end the upgrading, still got issues.
SQL>shutdown immediate
SQL>startup

SQL>alter session set "_with_subquery"=materialize;
SQL>alter session set "_simple_view_merging"=TRUE;


SQL>VAR fail number
SQL>BEGIN
DBMS_DST.END_UPGRADE(:fail);
DBMS_OUTPUT.PUT_LINE('Failures:'|| :fail);
END;
/
Number of failures: 2
BEGIN
*
ERROR at line 1:
ORA-56929: Ending an upgrade window failed
ORA-06512: at "SYS.DBMS_SYS_ERROR", line 79
ORA-06512: at "SYS.DBMS_DST", line 1289
ORA-06512: at line

SQL>SELECT * FROM sys.dst$error_table;

no rows selected

SQL>SELECT OWNER, TABLE_NAME, UPGRADE_IN_PROGRESS
      FROM ALL_TSTZ_TABLES
     where UPGRADE_IN_PROGRESS='YES';

OWNER            TABLE_NAME                    UPG
---------------- ----------------------------  ----
GSMADMIN_INTERNAL AQ$_CHANGE_LOG_QUEUE_TABLE_L YES
GSMADMIN_INTERNAL AQ$_CHANGE_LOG_QUEUE_TABLE_S YES
Start database normally and run DBMS_DST.UPGRADE_DATABASE.
SQL>set serveroutput on
SQL>VAR numfail number
SQL>BEGIN
DBMS_DST.UPGRADE_DATABASE(:numfail,
parallel => TRUE,
log_errors => TRUE,
log_errors_table => 'SYS.DST$ERROR_TABLE',
log_triggers_table => 'SYS.DST$TRIGGER_TABLE',
error_on_overlap_time => FALSE,
error_on_nonexisting_time => FALSE);
DBMS_OUTPUT.PUT_LINE('Failures:'|| :numfail);
END;
/

Table list: "GSMADMIN_INTERNAL"."AQ$_CHANGE_LOG_QUEUE_TABLE_S"
Number of failures: 0
Table list: "GSMADMIN_INTERNAL"."AQ$_CHANGE_LOG_QUEUE_TABLE_L"
Number of failures: 0
Failures:0

PL/SQL procedure successfully completed.


SQL>SELECT * FROM sys.dst$error_table;

no rows selected
End the upgrading.
SQL> VAR fail number
BEGIN
DBMS_DST.END_UPGRADE(:fail);
DBMS_OUTPUT.PUT_LINE('Failures:'|| :fail);
END;
/
An upgrade window has been successfully ended.
Failures:0

PL/SQL procedure successfully completed.
Check the successful upgrading.
SQL>SELECT PROPERTY_NAME, SUBSTR(property_value, 1, 30) value
      FROM DATABASE_PROPERTIES
     WHERE PROPERTY_NAME LIKE 'DST_%'
  ORDER BY PROPERTY_NAME;

PROPERTY_NAME             VALUE
------------------------- -------
DST_PRIMARY_TT_VERSION       18
DST_SECONDARY_TT_VERSION      0
DST_UPGRADE_STATE          NONE


SQL>SELECT * FROM v$timezone_file;

FILENAME		VERSION     CON_ID
-------------------- ---------- ----------
timezlrg_18.dat 	     18 	 0
Reference:
Updating the RDBMS DST version in 12c Release 1 (12.1.0.1 and up) using DBMS_DST (Doc ID 1509653.1)
Scripts to automatically update the RDBMS DST (timezone) version in an 11gR2 or 12cR1 database . (Doc ID 1585343.1)
ILOM snapshot is the first thing Oracle support normally asks for.
This post demonstrates how to run an ILOM snapshot on a cell server ( xx.xx.xx.xx ), on which one or more flashdisks have failed. This snapshot is required by Oracle support for diagnosing the issue.
1) Log in to the ILOM CLI interface.
# ssh xx.xx.xx.xx-ilom
Password:

Oracle(R) Integrated Lights Out Manager
Version 3.1.2.20.c r86871
Copyright (c) 2014, Oracle and/or its affiliates. All rights reserved.

->
2) After the ‘->’ prompt, type command in below:
-> set /SP/diag/snapshot dataset=normal
Set 'dataset' to 'normal'
3) Type the following command:
Here password contains special characters, so double quotes around the password are needed.
IP ( 10.10.10.17 ) could be either cell server or database server IP, as long as the user/password works on it.
-> set /SP/diag/snapshot dump_uri=sftp://testuser:"Password#"@10.10.10.17/tmp
Set 'dump_uri' to 'sftp://testuser:Password#@10.10.10.17/tmp'
4) cd to the snapshot directory and view the status. It shows “Running” initially.
-> cd /SP/diag/snapshot
/SP/diag/snapshot

-> show

/SP/diag/snapshot
 Targets:

Properties:
 dataset = normal
 dump_uri = (Cannot show property)
 encrypt_output = false
 result = Running

Commands:
 cd
 set
 show
5) Wait for the snapshot process to complete. It may take several minutes.
Continue to check until the status is shows ‘Snapshot Complete’
Do not use, access, view, copy or move the snapshot file until it has completed.
-> show

/SP/diag/snapshot
 Targets:

Properties:
 dataset = normal
 dump_uri = (Cannot show property)
 encrypt_output = false
 result = Collecting data into
 sftp://testuser:*****@10.10.10.17/tmp/xx.xx.xx.xx-ilom_1152FMM0C1
 _2016-04-17T10-59-15.zip
 Snapshot Complete.
 Done.

Commands:
 cd
 set
 show
6) exit the CLI interface and find your snapshot in the directory you specified.
->exit
Connection to xx.xx.xx.xx-ilom closed.

$ssh testuser@10.10.10.17
testuser@10.10.10.17's password:

$ls -ltr /tmp/xx.xx.xx.xx-ilom_1152FMM0C1_2016-04-17T10-59-15.zip

-rw-r--r-- 1 testuser dba 1129640 Apr 17 04:03 xx.xx.xx.xx-ilom_1152FMM0C1_2016-04-17T10-59-15.zip
Reference :
How to run an ILOM Snapshot on a Sun/Oracle X86 System (Doc ID 1448069.1)
